To gain access to TeamWox Collaboration Software, update your web browser and enter the server domain name in the address bar, for example: "https://team.yourcompany.com". Be sure to include "https://" prefix before the domain name in your web browser address bar. That provides a secure connection between your workplace and TeamWox server. If your workplace and TeamWox server are configured correctly, TeamWox groupware system login page will open:
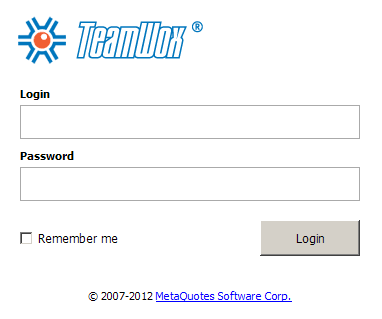
If TeamWox Groupware login page has not appeared, then your workplace needs to be configured. Configuration process depends on your web browser, operation system and the type of connection to TeamWox server. For your convenience we have thoroughly described a workplace setup process in any possible case:
- the web page is not available or there is no connection to the server
- untrusted certificate is used
- Adobe Flash Player plugin is needed
If you have managed to find and solve the issues, TeamWox login page will appear. Otherwise, contact your system administrator or our TeamWox customer support team.
1. The Web Page Is Not Available or There Is No Connection to the Server
This is a quite typical issue during the first attempt to log in TeamWox Groupware. The reason is that you connect to the system like to a web site with a high security level. Depending on your web browser, you may see a blank page, domain connection error message, inability to open the web page or connect to TeamWox server warning. Web browsers react differently and usually do not specify the problem. In this case we recommend you check the proxy server configuration, workplace network environment and the status of your TeamWox server.
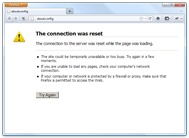
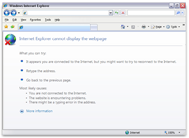
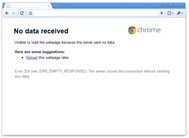
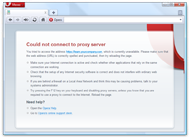
Skip this stage, if a proxy server is not used in your corporate network. Otherwise, you may see the following message in your web browser window, while trying to connect TeamWox server:
 |
 |
 |
 |
 |
|---|---|---|---|---|
| Mozilla Firefox | Microsoft Internet Explorer | Google Chrome | Apple Safari | Opera |
This shows that the proxy server does not allow to establish a connection between our computer and the TeamWox server. Enter your domain (team.yourcompany.com) as an exception for the proxy server in the "Network" section of your web browser to solve this issue. Execute the following steps considering your web browser:
- Mozilla Firefox
Open the Options menu > Options > Advanced > Network > Settings, enter your TeamWox domain name (for example, "team.yourcompany.com" - "https://" is not required in this case) in the "No Proxy for" field. - Microsoft Internet Explorer
Open the Tools menu > Internet Options > Connections > LAN Settings > Advanced, enter your TeamWox domain name (for example, "team.yourcompany.com" - "https://" is not required in this case) in the "Exceptions" field. - Google Chrome
Open the Settings menu > Under the Hood > Network > Change proxy settings... > Connections > LAN Settings > Advanced, enter your TeamWox domain name (for example, "team.yourcompany.com" - "https://" is not required in this case) in the "Exceptions" field. - Apple Safari
Open the Preferences menu > Advanced > Proxies: Change settings... > Connections > LAN Settings > Advanced, enter your TeamWox domain name (for example, "team.yourcompany.com" - "https://" is not required in this case) in the "Exceptions" field. - Opera
Open the Menu > Settings > Preferences > Advanced > Network > Proxy servers... > Exception List, enter your TeamWox domain name (for example, "team.yourcompany.com" - "https://" is not required in this case) in the "Use proxy for all servers except those on the list" field.
Save your changes and try to open TeamWox system login page again. If the page has not appeared, then your workplace needs to be configured further on. Execute the following steps to eliminate all possible issues concerning the access to TeamWox collaboration system.
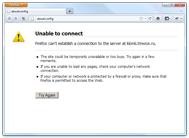
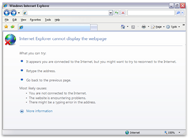
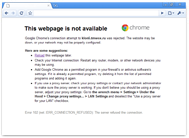
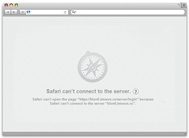
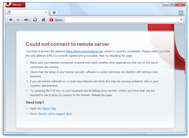
If the network environment is not configured at your workplace, connection to TeamWox server will be impossible. You will see the following warning message instead of the TeamWox login page:
 |
 |
 |
 |
 |
|---|---|---|---|---|
| Mozilla Firefox | Microsoft Internet Explorer | Google Chrome | Apple Safari | Opera |
The issue of the access to TeamWox Groupware server is mainly connected with domain name system (DNS) setup. Therefore, first of all, check DNS status using the ping command. Type "cmd" in your computer's command line (Start -> Run -> Open). Type "ping [TeamWox server domain name]" (for example, "ping team.yourcompany.com") in the new window and press "Enter". The result of the command execution will appear in the window:

If you see the message that it is impossible to find the host (team.yourcompany.com in our case), then the specified domain name is not associated with the computer IP address. This means that DNS is not working properly. Contact your system administrator or hosting provider to configure it. In case DNS setup is impossible for some reasons, the issue may be solved by editing the hosts file on your computer.
Ping command execution may also result in getting Ping statistics:
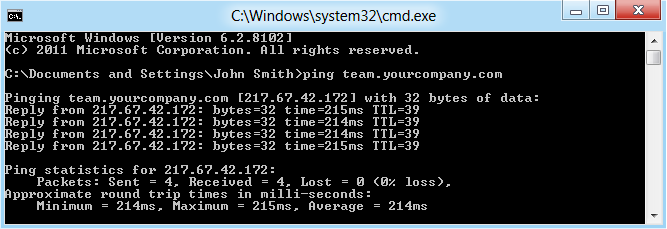
If you see a similar picture, it means that TeamWox server domain name is associated with the specified IP address (team.yourcompany.com domain is associated with 217.67.42.172 IP address in our case). Solving this issue depends on TeamWox server location:
- TeamWox server is located outside the local network (connection via the Internet)
In this case, check Internet status at your workplace. Try to open other web sites in your web browser. If they are unavailable, your Internet access is not configured properly. Contact your system administrator or Internet provider to solve the issue. If you have the Internet access from your workplace, then you need to check the status of the remote access to TeamWox Groupware system. This can be done by TeamWox system administrator. So, contact him/her for help. - TeamWox server is located inside the local network
In this case the issue is most probably connected with the domain system configuration and the IP address assignment to the TeamWox server domain. Ask your system administrator to check DNS operation and fix the issue. If there is no such possibility, you can solve the issue yourself by editing the hosts file on your computer.
If the IP address is assigned to the domain name correctly but the issue remains, it means that your TeamWox Groupware server has not been launched or has been disabled. In that case, only your system administrator can solve the issue. He/she needs to check TeamWox service operation.
The hosts file acts as a local DNS and assigns a domain name with a computer IP address. That allows a web browser to connect the computer at the specified IP address. The hosts file editing is used only as a temporary solution, as it works only for one workplace. Besides, the hosts file must also be edited when changing the IP address for the specified domain.
Check the IP address of the computer with the installed TeamWox Groupware server before editing the hosts file. To do this, type "cmd" in your computer's command line (Start -> Run -> Open) and enter "ping [TeamWox server domain name]" (for example, "ping team.yourcompany.com") in the new window. As a result, you will see the IP address of the following format 217.67.42.172.
Then find and open the hosts file by Notepad. The hosts file is stored in:
- OS Windows 95/98/ME - WINDOWS\hosts
- OS Windows NT/2000 - WINNT\system32\drivers\etc\hosts
- OS Windows XP/2003/Vista/7(Seven) - WINDOWS\system32\drivers\etc\hosts
If you use Windows Vista or 7, you will need Administrator rights to make changes to the file. To do this, open Start -> All Programs -> Accessories -> right-click on Notepad and select "Run as administrator". Then open the hosts file for editing via the Notepad.
At the end of the file add a line like:
217.67.42.172 team.yourcompany.com
where 217.67.42.172 is the IP address of the computer with the installed TeamWox server that you have received using ping command.
Finally, save your changes to the hosts file and close it. Now, try to open TeamWox login page again. If your attempt has failed, then your workplace needs to be configured further on. Execute the following steps to eliminate all possible issues concerning the access to the TeamWox collaboration system.
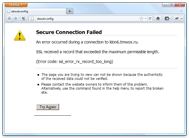
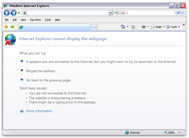
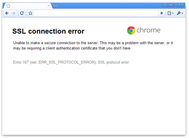
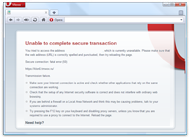
It is quite probable that a web browser cannot establish a secure connection to TeamWox Groupware server. That may happen due to the blocked ports on the computer having TeamWox collaboration software. In that case you will see a message of the following kind:
 |
 |
 |
 |
 |
|---|---|---|---|---|
| Mozilla Firefox | Microsoft Internet Explorer | Google Chrome | Apple Safari | Opera |
This issue occurs when one port is used by several programs simultaneously. In particular, the ports 443 (https) and 80 (http) must be used for TeamWox server operation. If they are not available, you will not be able to connect to the system. In that case, please, inform TeamWox administrator about the blocked server ports issue.
2. Untrusted Certificate Warning
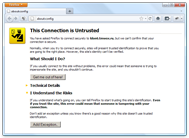
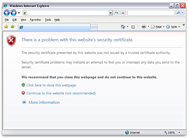
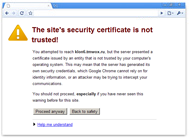
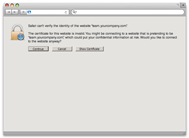
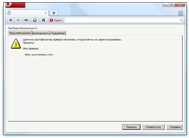
TeamWox Groupware works only via secure connections using SSL encryption. That provides the high level of protection against transmitted data interception. The unique SSL certificate is used for secure data exchange between your workplace and TeamWox server. It is delivered with TeamWox system license. This is a high-quality and fully functional digital certificate, signed by MetaQuotes Software CA root certificate issued by the certification center of the TeamWox system developer - MetaQuotes Software Corp. However, since your unique SSL certificate is signed by the unauthorized MetaQuotes Software CA certification center, your web browser does not trust it and displays the following warning message:
 |
 |
 |
 |
 |
|---|---|---|---|---|
| Mozilla Firefox | Microsoft Internet Explorer | Google Chrome | Apple Safari | Opera |
Make an exception in your web browser to provide a secure connection to your TeamWox server and proceed further. TeamWox system login page will open after that:
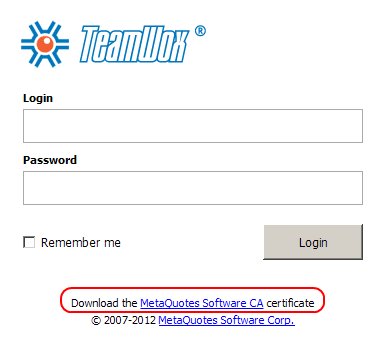
You will see "Download the MetaQuotes Software Root CA certificate" at the bottom of the page. This means that information about MetaQuotes Software CA has not been added to the list of trusted certification centers on your computer yet. Therefore, your web browser already trusts the root certificate accepted as an exception, while your operation system does not trust it yet. As a result, some TeamWox system features may not be available to you. For example, you will not be able to connect to TeamWox system via WebDAV protocol. Also, there may be difficulties in using Drag&Drop tool and uploading files on the TeamWox Groupware server.
Download MetaQuotes Software CA root certificate to provide full functionality of your TeamWox business management system. It is a special MetaQuotesRootCA.cer file. Open the file and place the certificate in the certificates store called "Trusted Root Certification Authorities". The whole procedure for Windows operation system is as follows:
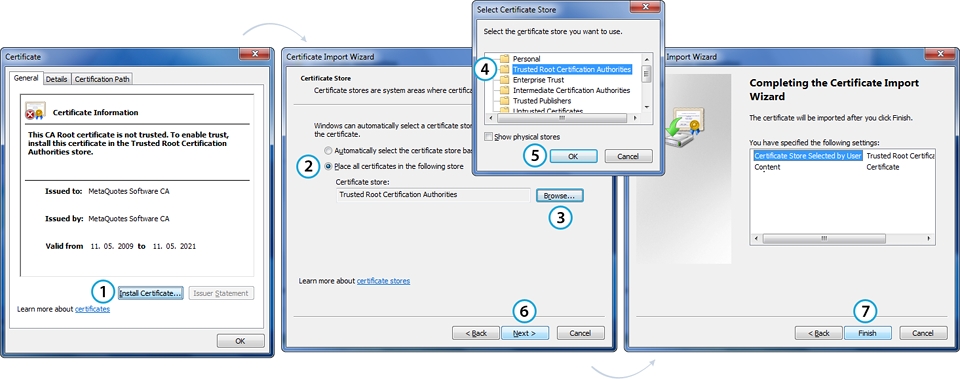
Later you will be able to get your own SSL certificate from the authorized certification center to replace the previous one issued by MetaQuotes Software Corp. certification center. After that web browsers will no longer show the untrusted certificate warning messages regardless of the used workplace.
3. Adobe Flash Player Installation
The latest version of Adobe Flash Player plug-in must be installed for the full-scale work in TeamWox collaboration software. This is a web browser plug-in allowing you to use the additional features of the system. For example, you will be able to save charts and images from TeamWox in graphic formats or add a lot of documents into the system and view the process of their uploading. If you have no Adobe Flash Player plug-in on your computer, a web browser will inform you about that during your work in TeamWox Groupware:
![]()
Besides, the link to download the latest version of Adobe Flash Player can be found at the TeamWox login page:
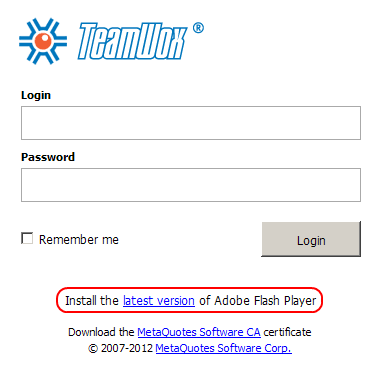
Download the latest version of Adobe Flash Player plug-in. Close your running web browser before the installation. Start the installation process, and after its completion you will be able to continue your work in the TeamWox system without any limitations.
Conclusion
After the TeamWox login page has appeared, the workplace setup process is complete. Log in TeamWox system and start working in it. For your convenience, we have prepared the brief training course for TeamWox users. You can save your TeamWox address as your web browser's home page to simplify your work.
WebDAV access setup will facilitate and speed up the work with documents in TeamWox business management system. This technology allows to connect the files storage in the "Documents" module as a network folder on your computer. You will be able to work with files in TeamWox Groupware as easily as if they were on your computer.
If you have any difficulties in setting up your workplace, contact our TeamWox customer support team. Qualified staff will help you in setting up a workplace and TeamWox Groupware server installation.
2012.05.07